
How to Propagate Pothos
Pothos (Epipremnum aureum) ranks among the most popular houseplants. These vining plants are practically indestructible, adapt to various lighting conditions, and perhaps best of all—they're very easy to propagate. Whether you want to expand your collection, share with friends, or create fuller plants, propagating pothos is a skill that even beginners can learn.
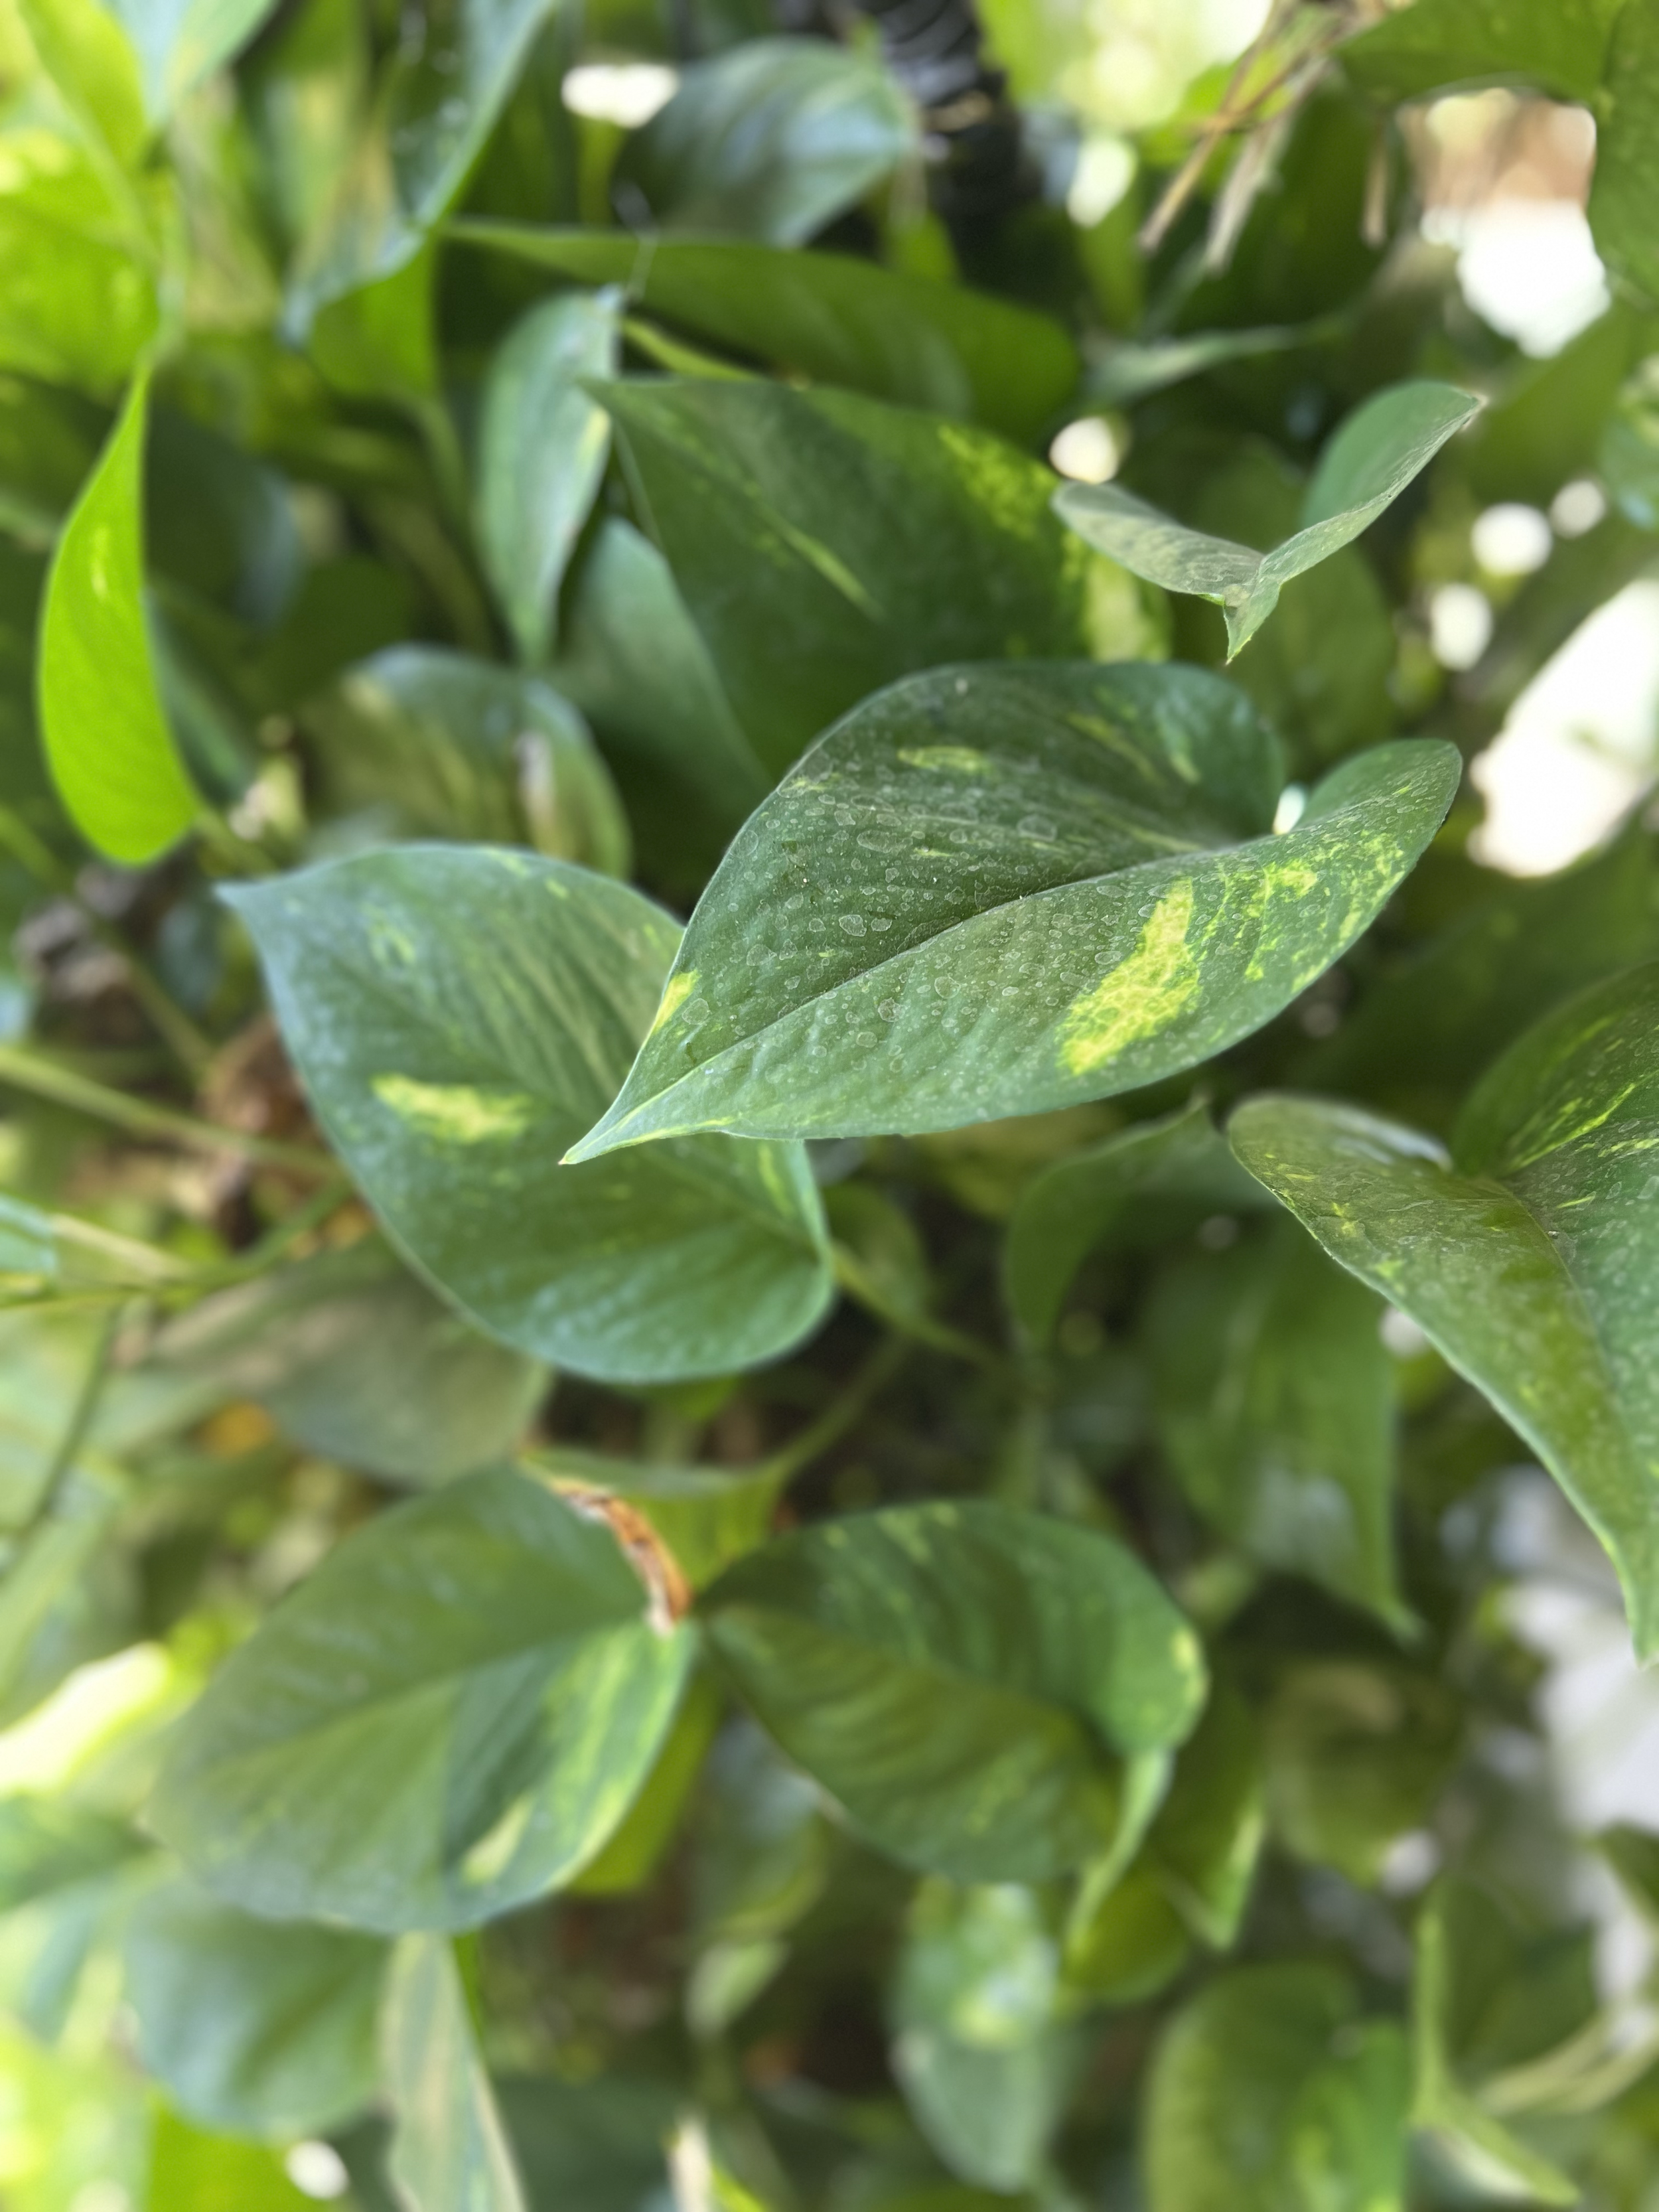
Propagating pothos can be very easy and rewarding.
Understanding Pothos Propagation Basics
Pothos propagation works because these plants develop aerial roots along their stems. These specialized roots appear as small bumps or brownish spots between leaves. Each stem node has the potential to develop into a full root system when given the right conditions. This ability makes pothos one a reliable plant for home propagation.
The plant's vining habit in its native tropical home has evolved to take advantage of any opportunity to establish new growth points. When stems touch soil or moisture, nodes sprout roots, allowing the plant to spread and climb. We can take advantage of this tendency through several propagation methods.
Water Propagation Method
Water propagation is the most popular method for beginners because you can watch the entire root development. Start by selecting a healthy vine section with at least 4-6 leaves and 2-3 visible nodes. Using clean, sharp scissors or pruning shears, cut the stem about a quarter-inch below a node to ensure you include the growth point.
Remove any leaves that would sit below the waterline, as submerged foliage will rot and contaminate the water. Place your cuttings in a glass jar or container filled with water. The nodes should be completely submerged, but keep the remaining leaves above water.
Put your container in bright, indirect light—avoid direct sunlight which can heat the water and promote algae. Change the water every 3-5 days to prevent bacterial buildup and to maintain aeration. Fresh water also provides nutrients for developing roots.
Within one to two weeks, you'll notice small white root nubs emerging from the nodes. Allow roots to develop until they're at least 1-2 inches long before transplanting to soil. This typically takes 3-4 weeks. Well-developed roots give your plant the best chance of successful transition to potting mix.
Soil Propagation Method
Soil propagation skips the water stage entirely, often resulting in stronger root systems from the start. Prepare a pot with an inorganic potting mix—something like peat moss or coconut coir with perlite or pumice. The soil should be moist but not waterlogged.
Take cuttings using the same technique as water propagation, making sure each piece includes nodes and 4-6 leaves. You can plant multiple cuttings in the same pot to create a fuller plant immediately. Bury the nodes about an inch deep in the soil, leaving the leaves above the surface.
Place the pot in bright, indirect light and maintain good soil moisture. The soil should feel like a wrung-out sponge—damp but not soggy. You can further cover the pot with a plastic bag or place it in a humidity dome to maintain moisture levels during root development. However, this isn’t entirely necessary.
Soil propagation typically takes 2-4 weeks, though you won't see the roots developing like you would in water. Test for root establishment by gently tugging on the cutting after three weeks. Resistance indicates rooting, while easy movement means the cutting needs more time.
Air Layering Technique
This method encourages root development on a vine that's still attached to the parent plant, ensuring continued nutrition during the rooting process.
Select a healthy section of vine with visible nodes while it's still attached to the parent plant. Wrap damp sphagnum moss around the nodes, then cover with plastic wrap to maintain moisture. Secure both ends with twist ties or rubber bands, creating a greenhouse effect around the nodes.
Check the moss weekly and re-moisten as needed. The moss should remain consistently damp but not dripping wet. Roots typically develop within 3-6 weeks using this method. Once you see root development through the plastic, cut the vine below the rooted section and plant immediately in soil.
Air layering produces strong root systems because the cutting receives nutrients from the parent plant throughout the rooting process. This method works well for variegated pothos varieties that may be slower to root than standard green types.
Optimal Conditions for Success
Temperature plays a crucial role in propagation success. Pothos roots best in temperatures between 65-75°F (18-24°C). Cooler temperatures slow root development, while heat can stress cuttings and promote rot. Most homes provide ideal temperatures for pothos propagation year-round.
Humidity levels between 50-70% encourage faster root development and prevent stress. If your home is dry, especially during winter months, group propagating containers together or use a small humidifier nearby. The humidity created by multiple water containers often provides sufficient moisture levels.
Light requirements remain consistent regardless of propagation method. Bright, indirect light provides solar energy for root development without stressing new roots. East-facing windows work great, providing gentle morning sun followed by indirect light throughout the day. Avoid south or west-facing windows where afternoon sun might scorch your plants.
Troubleshooting Common Issues
Rotting cuttings are the most common propagation problem, usually caused by contaminated water, organic soil, poor air circulation, or damaged plant material. Always start with healthy, pest-free cuttings and use clean containers and tools. Make sure to use inorganic potting mix, too. If you notice mushy, blackened stems or a foul odor, discard cuttings immediately and start fresh.
Slow or failed root development often indicates insufficient light, low temperatures, or poor cutting selection. Ensure your cuttings include healthy nodes and place them in consistently bright light. Cuttings taken from newer growth often root faster than those from woody sections of the vine.
Leaf yellowing during propagation is normal as the cutting redirects energy toward root development. However, if most leaves turn yellow rapidly, the cutting may be stressed from too much light, temperature fluctuations, or contaminated water. Adjust your conditions and be patient—propagation requires energy that diverts from leaf maintenance.
Transplanting and Aftercare
When roots reach 1-2 inches in length, your cuttings are ready for transplanting. Choose pots with drainage holes and fill with an inorganic potting mix. Avoid commercial houseplant potting soils. Instead, create your own blend using equal parts peat moss and perlite. Alternatively, you can use coconut coir or pumice to substitute.
Plant rooted cuttings at the depth they were growing, ensuring nodes are buried while leaves remain above soil level. Water after planting, allowing excess to drain from the bottom. This watering helps settle soil around new roots.
Newly transplanted pothos need care for the first few weeks as they establish in their new environment. Keep soil moist but not waterlogged, and maintain the same lighting conditions used during propagation. Avoid fertilizing for the first month, as developing root systems are sensitive to salt from fertilizers.
Gradually introduce your new plants to normal care after 4-6 weeks. Begin with diluted fertilizer applications and adjust watering frequency based on soil moisture and plant response. Within two to three months, your propagated pothos should show new growth and can be treated as established plants.
Expanding Your Collection
Successful pothos propagation opens up many possibilities for growing your collection. Different pothos varieties root at similar rates, allowing you to propagate golden pothos, marble queen, jade, and neon varieties using the same techniques. Each variety maintains its unique characteristics when propagated, creating clones of parent plants.
Consider propagating seasonally to maximize success. Spring and early summer provide optimal growing conditions with increasing daylight and warmer temperatures. Fall propagation works well too, giving new plants time to establish before winter's lower light levels arrive.
Trading propagated pothos with other growers creates opportunities to diversify your collection without spending money. Pothos cuttings are valued in plant swapping communities due to their reliability and the variety available. A healthy plant can provide dozens of cuttings over time, making it an awesome investment for any plant lover.
The satisfaction of propagating plants extends beyond the benefits of expanding your collection. Each successful cutting represents your understanding of plant biology and care. These skills transfer to propagating other plants, opening up even more possibilities for your garden.


The best potting soil for perennials is going to surprise you. It doesn’t have compost or earthworm castings, but something very different.